Garden Tractor Forums banner

Looks Like I Will Have Heat This Winter!

3.4K views 44 replies 16 participants last post by  HydroHarold  
#1 · (Edited by Moderator)
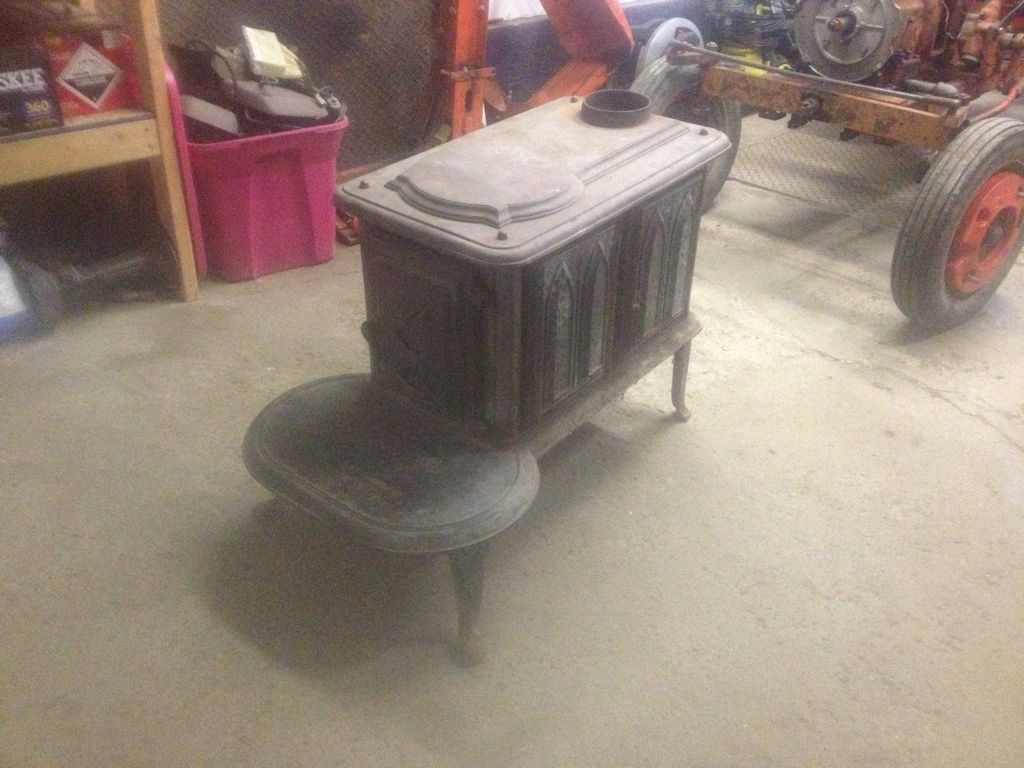
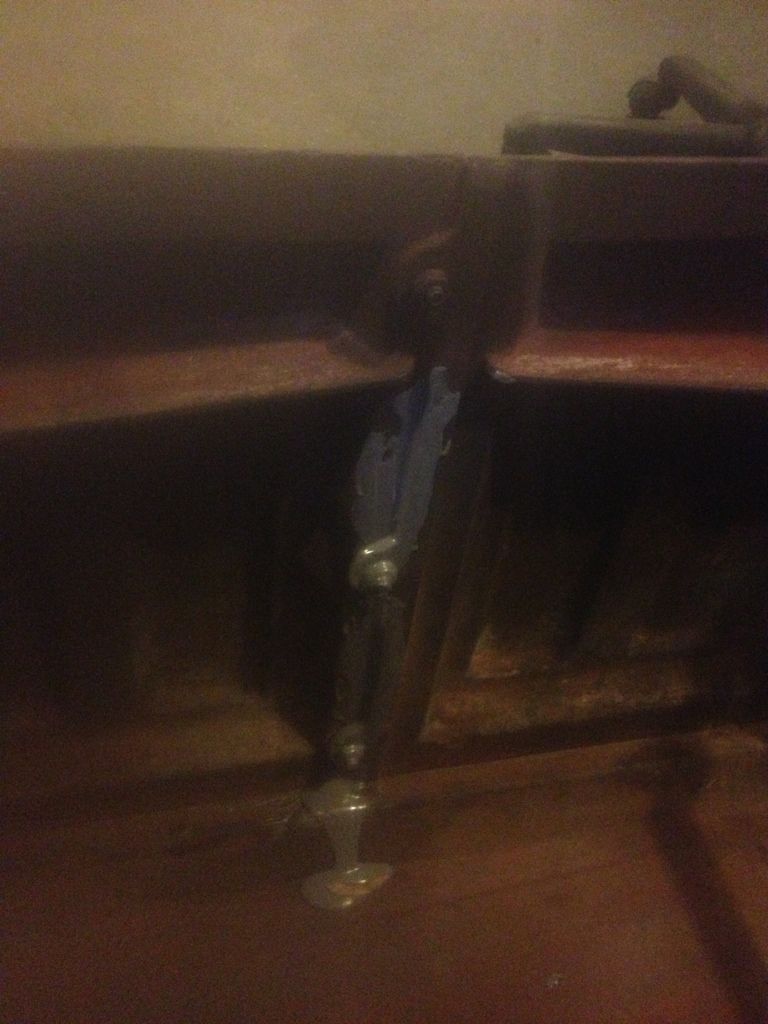
Today, neighbor Dave gave me his old wood stove! It even came complete with ash and a half burnt log! I knew he had a big one, but I did not know he had another! He got it from his friend who had it in his living room 20 years ago. Dave put it into his basement, it was only big enough to heat the basement and the floor upstairs. Five years ago when he bought the big one he has now, he unhooked the little one.

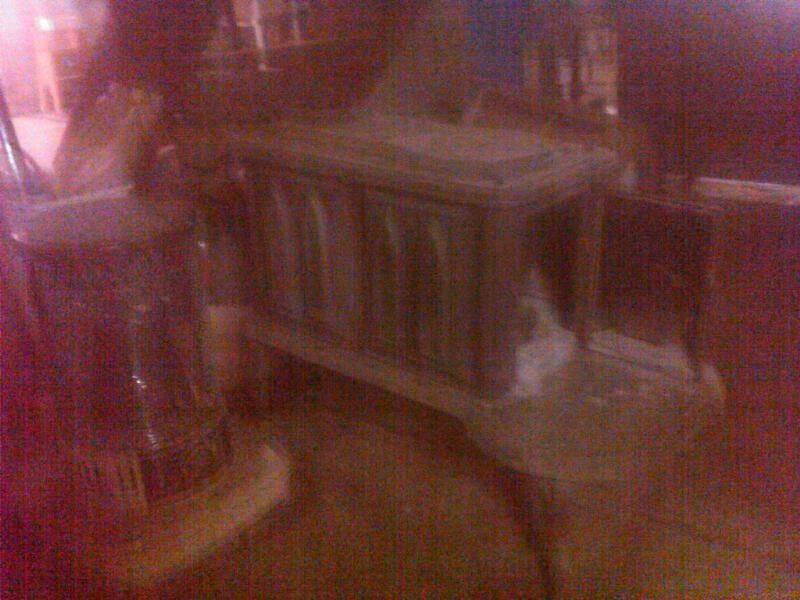
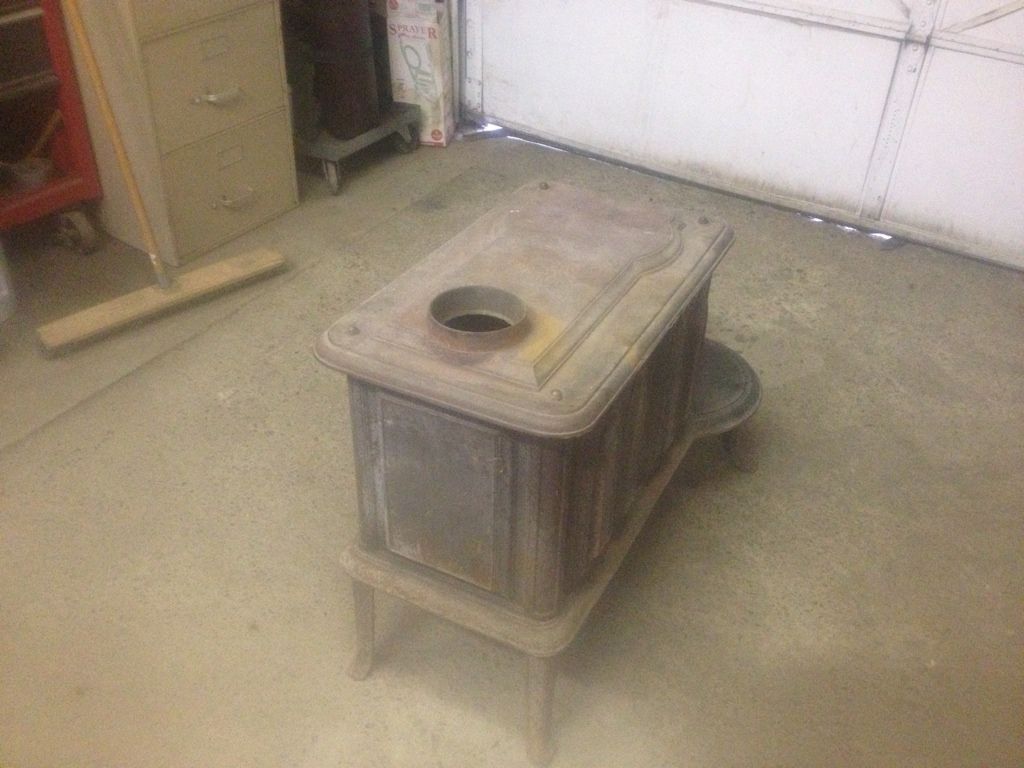
The thing that made me want a woodstove in the garage, was seeing the pot-belly stove my uncle Kevin has in his garage. He knew it made me want one, and he started to keep his eye out for one for my garage. There where a few on craigslist but they where always gone by the time either of us could contact the seller. Today when he came to pick up the bench grinder stand I made him, he saw the little stove; I had not told him I got one.

He hangs drywall and on one jobsite a bunch of limestone got thrown away; he stopped them and took it. I don't remember what he called it but it is in big slabs. He is also going to help me install it! When he does, he is going to bring the limestone so we can put it on the surrounding walls. I don't know when it is going to be put in, but I hope it will be done before I have to sit inside... wishing it was warm in the garage.

The only pictures are the ones that Dave sent me. I will take more tomorrow.
Image


Image
 
#6 ·
It is great to have a heated shop in the winter. It is even better if you actually have room to work in it LOL. My shop has electric heat in it and I only turn it on when I go out there, which is usually warm enough. I only leave it on at night if I had been painting that day. I would have a wood stove but we had concerns about it in a shop that uses gasoline in the tractors (gas fumes). Anyway, great score, be safe.
 
#12 ·
My buddy has same thing. He has a small fan plugged in behind it to move the heat around and that lil thing does a great job of heating his big shop. You will not be let down.
 
#13 ·
I used to have wood heat in a garage. I took an area above the stove and recessed the ceiling. Ran a duct between the rafters across the shop with a small fan there to suck the heat that rose and blow it out across the room. Made good circulation and warmed the garage pretty quick. Didn't need much fire after things warmed up.
 
#16 ·
Good luck with the woodstove Ryan. It looks like a decent unit. I remember stoves like that in a camp we used as a teenager.
 
#17 ·
Nice stove for your garage.
Just be careful with the stove burning and GT fuel in the garage, as well as oil and paint, and...........
I don't want anyone to loose their collection!
Image
 
#19 ·
Here are better pictures of the stove, as promised. Still not great photos.
Image


Image


After I picked it up, I cleaned out all of the ash. This morning, I had the stove taken apart before I had even noticed! Each corner had a piece of threaded rod with a cap nut on top and another normal nut on the bottom. When I took them out everything came apart. Then, I started to wire brush everything and clean it up. Now, before you guys get carpotunnel from lecturing me... I WAS wearing a respirator!

I tried to take the door off of the hinges, the top pin came out easily, the bottom one did not. I did not want to break the brittle cast iron so I sprayed it with penetrating oil. I went onto cleaning some other parts while it soaked; after an hour I tried it again. This time, it broke the hinge. By looking at it you can see the color difference. I think that I cracked it the first time, when I sprayed it the oil soaked into the crack. When I tried it again I finished it off, and that is why there are color differences. I think I will just try to fix it up with some JB weld.
Image


I have two legs, the bottom, one side, the back, the front (minus the door) and another part that goes inside cleaned. I still have to do the door, the top, and the other side.
 
#23 · (Edited by Moderator)
Wow, an Atlantic 224, just like the one I bought new in 1980 from a dealer in Middletown, NY! The "224" originally in the "un-airtight" days meant the stove had 224lbs of cast iron in it. I left the legs off, set it on 4 bricks and installed it into a home made steel smoke shelf adapter in my fireplace. We were all scrambling for wood stove information and methods in those days as everybody that once burned wood and knew how to do it right had long since had their coal/wood "octopus" converted to oil.

There were also lots of gimmicks you could buy to control draft and not have to ride the air damper of stoves. (Most in "Mother Earth News") One that I tried had a "flapper" with an adjustable weight that installed on the draft intake control center screw. You would screw the weight in or out to balance the flapper against the draft and it would "control" the burn. It did not control the creosote production as the stove ran in shut down mode half the time as long as the flame lasted.

It was a great stove though and heated the first floor of my cape style house pretty well... after we figured out the system of fans that we used to move air throughout the house... The molds that the sections of this stove were made from were originally made for an un-air tight design and the rage at the time was total "air tight" as per the advertising brochures of most stoves then. They just sealed this stove up with furnace cement in the joints and it used to shed some during the season as the heat cycles loosened it. It comes apart fairly easy (use Neverseize on fasteners for reassembly) to reseal. You'll know when it has too many leaks as it won't respond to the rotary draft control on the door and will begin to run hot.

As with ALL CAST IRON STOVES, make sure you keep the thing from "glowing", these ain't the thickest iron and unlike steel they don't want to be really hot. AND, if you have an insurance company that will let you run a wood/coal stove in your garage please let me know which on it is. My company will send a hit man to the house if they find out I did that.
 
#24 ·
Ryan, sorry to say, but I just gotta vote down the JB Weld fix on that hinge, unless you can guarntee' it never seeing above 450 degrees....which I doubt :-(

On second look , it seems to have been repaired before, maybe that is why the thing sat in the corner, and no one around with any nickle rod to fix it decently.....
 
#25 ·
Ah, bummer... I wish I saw this post before! I don't know how I missed it, I must have overlooked a notification.

The bolts that hold the two sides together stick out past anything else on the backside. When I was brushing it up, I pushed on it in a way that it did not like and I broke the three tabs that hold the two pieces for the side.

I took a picture of only one tab, a picture of each was not necessary.
Image


Just before I saw your post, I put some JB on the entire seam. Also, after I had it all put on I saw that it was not even needed, as the top and bottom pieces would hold them together. I will have to wait for it to dry, then take it off when I can just chip at it.

The problem with the broken tabs can be gone around, but I still have to figure out that hinge. I should have just left it together...
Image
Image
Image
 
#27 ·
Why not? I know it is not as good as being bolted. But, I really don't see a need for the bolts anyway. They overlap and even without bolts the joint will still seal better then where the corners meet. Don't get me wrong, I would still rather fix it.
 
#30 ·
I'm raising my hand to suggest large "fender washers" overlapping the tab/tab bolt. You can shape them with a fire wrench to the shape of the iron (not on the stove, on an anvil). For the door, if I'm seeing the breakage right, how about a couple eye bolts for hinges? 1 on the door riding inside 2 coming out the front of the stove. Mighty "adjustable" for a seal with the right bolts. As these stoves were constructed as "re-makes", I don't think they had the quality cast iron of the original ones.

JB Weld will be futile except to hold parts in alignment for better repairs, my stove used to see 450Âş+ normally at certain points of the burn run with the intake rotated only open 1/8th of an inch.
 
#31 ·
Ok, here are those pictures I said I would post days ago. I have all of the JB weld taken off of the sides, but there is some on the bottom from where it ran down the side that I have to get off.

Here is where I put the JB weld on, you can see where it ran down onto the bottom.
Image


Here is the top edge where the two side panels meet. You can see there is a lip on the tops. This lip locks into the top piece, there is also the same thing on the bottom.
Image